Flight simulation old and new

Month: December 2023 Page 1 of 2

How to Install Jetfighter II Advanced Tactical Fighter on Windows 11

 How to Install Jetfighter II Advanced Tactical Fighter on Windows 11
How to Install Jetfighter II Advanced Tactical Fighter on Windows 11

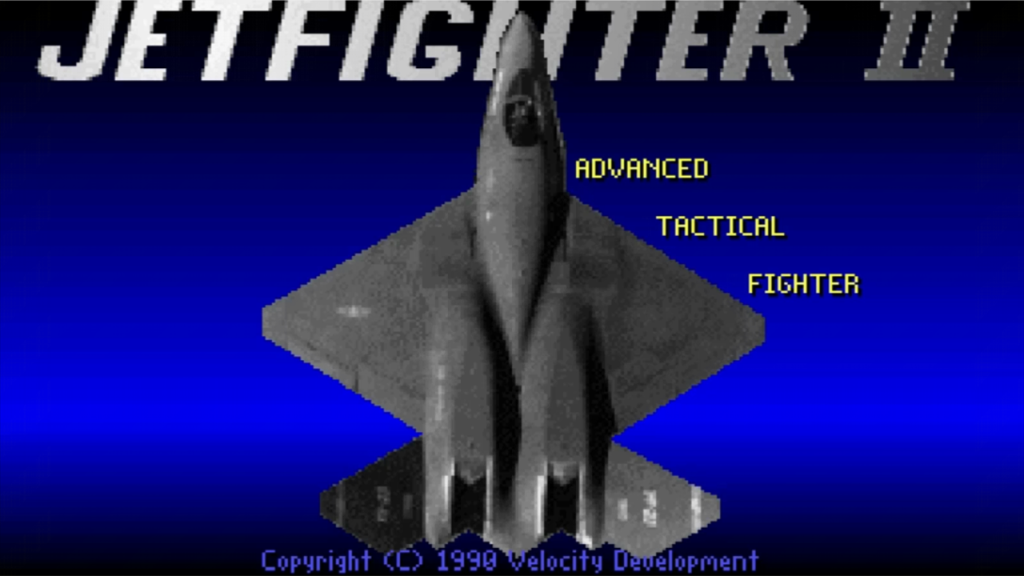
Jetfighter II: Advanced Tactical Fighter was THE very flight simulation video game that got me into flight simulation back in the early nineties. 

In this post I’m going to describe the process needed to install this very old MSDOS game on a Windows 11 PC platform.

Software needed

Off course we will need several pieces of software, don’t worry they’re all free in order to install Jetfighter II Advanced Tactical Fighter in our PC. Those programs are the following:

1. The game files: This seems to be obvious but still is good to mention. Since this game is, as far as I know, under the abandonware category, it can be found all over the Internet. I personally downloaded it from this link at Abandonware.com.

2. DOSBox: Since the game was released for MSDOS, a now defunct Operative System, we’ll need an MSDOS emulator that will give us the right environment to install and play our MSDOS based games. This is a free and open-source program that you can download from its official website.

Installation process

1. Create a folder called DOS right on the root of your hard drive. This will be the virtual C:\ drive inside the DOSBox’s MSDOS environment.

2. Enter your newly created DOS folder and create a subfolder called JF2.

3. Extract all the game files into the C:\DOS\JF2 folder. The ones inside the .RAR file you downloaded from Abandonware.

4. Install DOSBox. This is a straightforward process. Just execute the installation file you downloaded from the official DOSBox website, and basically click “next” on every step until the program completes the installation.

Play Jetfighter II Advanced Tactical Fighter on Windows 11

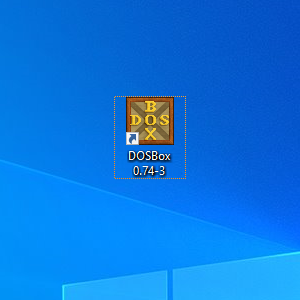
1. Open DOSBox by double clicking on the program’s shortcut located on your main desktop screen.
DOSBox desktop icon
DOSBox desktop icon

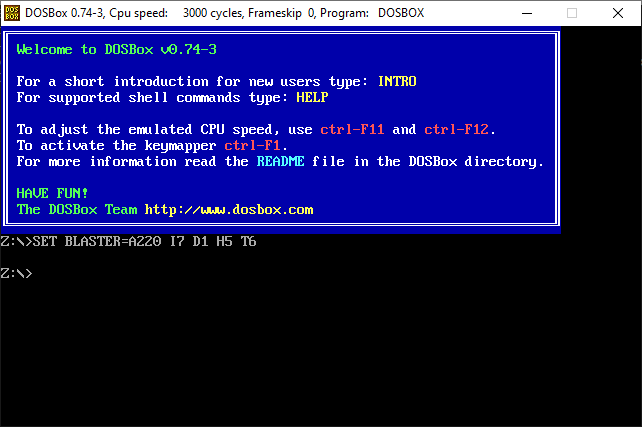
2. Once you open the program, you will see a screen showing the MSDOS environment. By default, DOSBox will be showing a “Z:\” as the default virtual drive. 
DOXBox's main screen
DOXBox’s main screen

3. Now you will have to “Mount” your virtual “C:\” drive first in order to play your games using the following commands:

mount c c:\dos 

Once the command is written, just press ENTER. If everything is all right, you’ll see the following message “Drive C is mounted as local directory c:\dos\” as you can see on the following screen:
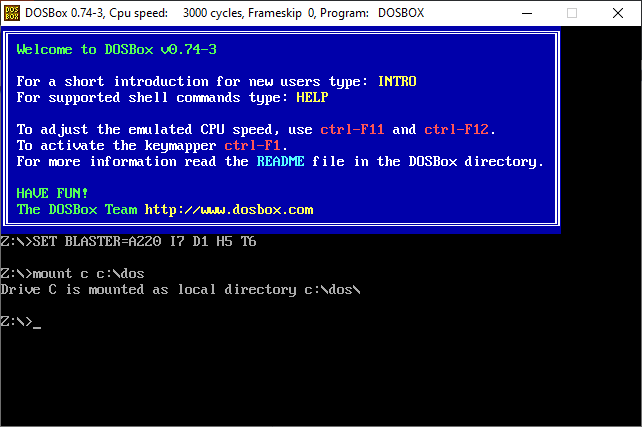
DOSBox screen after the "Mount C" command
DOSBox screen after the “Mount C” command

4. Now, in order to play the game, you’ll to run the following commands:

c:\ <ENTER> This command will take you the virtual c:\ drive you mounted earlier.

c:\jf2 <ENTER> This command will take you into the game’s main folder.

jf2 or jf2.exe <ENTER> This command will open the actual game. 

If everything goes all right, you’ll see a screen like this before running the game:
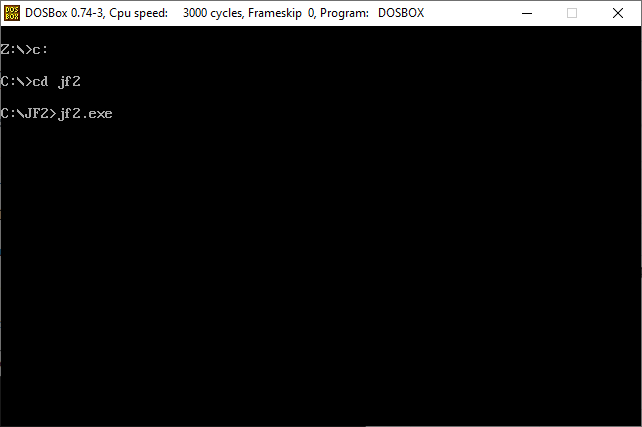
Opening Jetfighter II Advanced Tactical Fighter on DOSBox

5. Enjoy playing Jetfighter II Advanced Tactical Fighter on Windows 11.

If you have any questions about this process, please leave it at the comment section bellow and I’ll answer you as soon as possible to help you play this awesome flight simulation game.
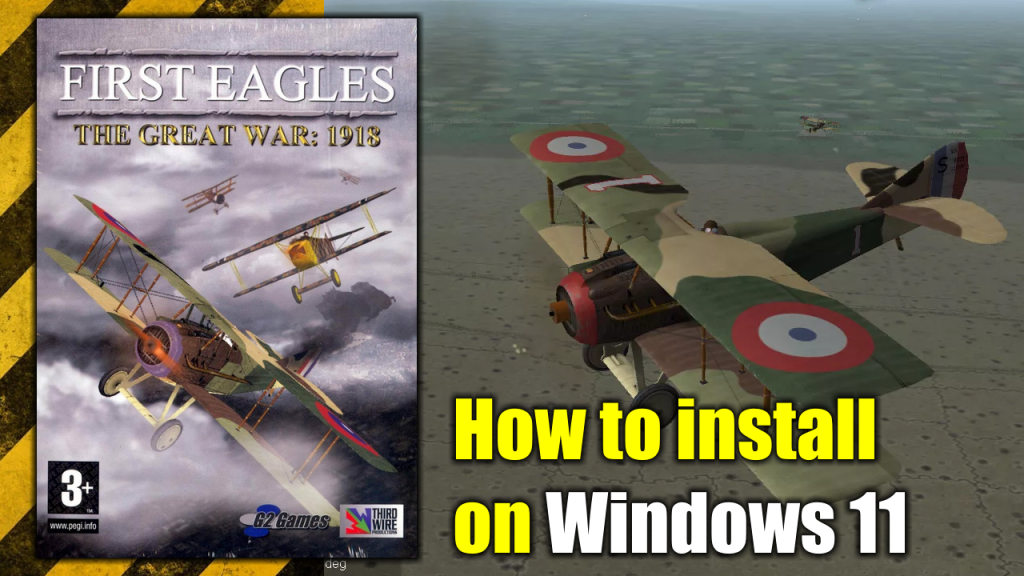
How to Install “First Eagles: The Great War 1918” on Windows 11

How to Install "First Eagles: The Great War 1918" on Windows 11
How to Install “First Eagles: The Great War 1918” on Windows 11

First Eagles: The Great War 1918 is one of the very first flight simulation games published by Thirdware Productions back in 2006. It stands out from the rest of the games produced by the company by being set on World War I and simulating old planes from that era instead of jets.

I have to say this game is awesome. By flying an old WWI plane, you only rely on a pair of machine guns and your skills to get out alive from any mission. No fancy computer locking other planes for you and no missiles shooting down enemies from miles away.

Here you have to get up close and personal with the enemy, manually aim your guns and decide yourself when to make the shots while other planes get also close and personal with you in an attempt to send you out to meet Saint Peter. Once the battle begins there is no time to rest.

So, what are you waiting for? here’s how to install “First Eagles: The Great War 1918” on Windows 11.

Software needed

In order to install First Eagles: The Great War 1918 in your Windows 11 PC you need to have the following list programs:

1. The installation CD/DVD or .ISO image of First Eagles: The Great War 1918.

2. The First Eagles: The Great War 1918 official October 2008 patch. It can be downloaded from MEGA by clicking here.

3. The HDR Mod 1.01A. Available for download at CombatAce, an excellent online community of flight simulation players and modders.

4. 3. dgVoodoo, a legacy DirectX and Glide graphics card API wrapper/implementation program1 that provides support to run Windows and DOS-based old programs using Glide or DirectX. Available for download here.

Installation process 

Before we begin: If you have a Windows 10 PC, this whole process also works for Windows 10 based PCs. Now let’s continue with the install.

Once you have all the required software at hand, we can proceed with the installation of First Eagles: The Great War 1918 on your Windows 11 PC. The installation process will be as follows:

1. Insert the First Eagles: The Great War 1918 CD/DVD on mount the .ISO image and open the setup file. This is one of those “click Next and then Next” cases until the installation is completed.

Do NOT open the game yet, it still will be unplayable at this point.

2. Open the First Eagles: The Great War 1918 official October 2008 patch (FE_Update_Oct2008.exe) and complete the installation process, another case of “click Next and then Next”. Just remember to install this patch in the same folder the game was installed.

3. Unzip the HD1.01 mod into a new directory then open the enbseries.ini file using a text editor and find and change the following command line from:

[GLOBAL]

UseEffect=1 

to

[GLOBAL]

UseEffect=0

Then save the enbseries.ini file.

4. Copy the modified enbseries.ini and the unzipped d3d9.dll into your game install directory, copy a second copy of the enbseries.ini into your Flight sub-directory of your game install directory (this is very important).

5 Unzip the dgVoodoo file into a different folder and look for a file called DDraw.dll. Then copy this file into the First Eagles: The Great War 1918 install directory.

6. Open, play and enjoy First Eagles: The Great War 1918 on your Windows 11 PC.

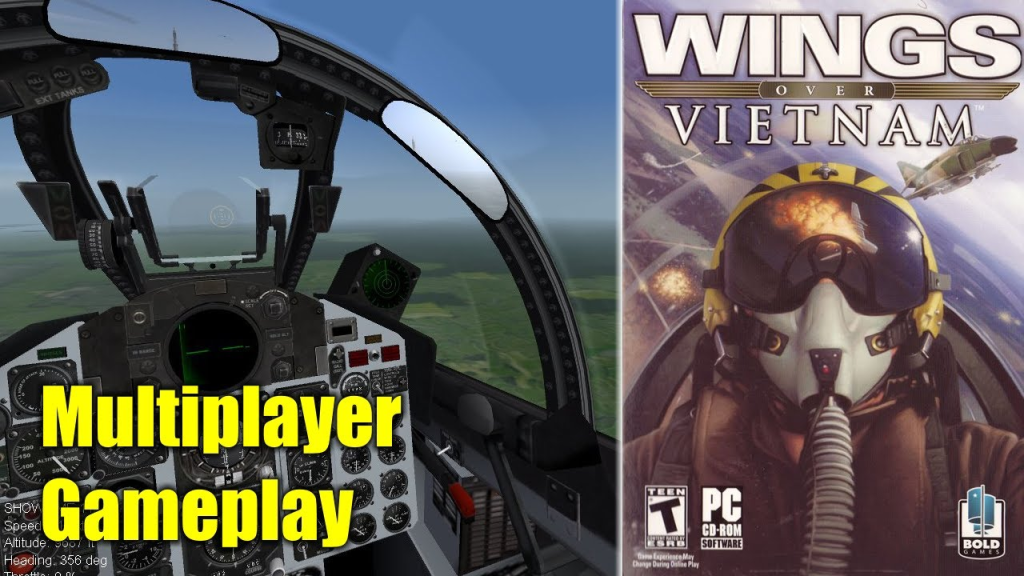
Wings Over Vietnam: multiplayer gameplay

Wings Over Vietnam: multiplayer gameplay

I found out about the Strike Fighters saga playing the base game Strike Fighters 2. For me, this game offers a perfect combination between hard core simulation and arcade style combat flight gameplay and, even though the game has been around for a while (it was released in 2008), has a great community of players and modders that has improved, expanded and kept the game alive for more than a decade.

But, despite being an excellent flight simulation videogame, Strike Fighters 2 has a big flaw: its total lack of multiplayer capabilities. Something that a game like this desperately needs and has even been asked to its developer but with no answer for it.

A multiplayer past

Since the game I knew first has a number two in the name, I wanted to play the beginning of the saga since the same community of players and modders I mentioned earlier let me know that those first games did have the multiplayer option available.

Unfortunately, those games were not compatible with the new versions of Windows since they were released in 2004, the times of Windows XP. Fortunately, as time passed by, I found out that there is a way to make those games to work on modern PCs. Process I shared in this page a couple of posts ago.

Wings Over Vietnam Multiplayer

Just as Strike Fighters 2, this first saga has different chapters/upgrades, one of those chapters/upgrades is known as Wings Over Vietnam. Once I got it to work on Windows 11, I wanted to test the so-called multiplayer this first games had and how good or bad it is.

I tried to find someone to test it over Internet with no avail. So, due to the lack of voluntaries I set up my own LAN network at home to make a multiplayer test flight. Long story short, it worked!

In the video bellow I show how I set up the multiplayer session on both PCs and its performance.

Page 1 of 2

Powered by WordPress & Theme by Anders Norén