Flight simulation old and new

Category: HOW TO INSTALL Page 1 of 13

How to install tutorials for video games, programs and tools

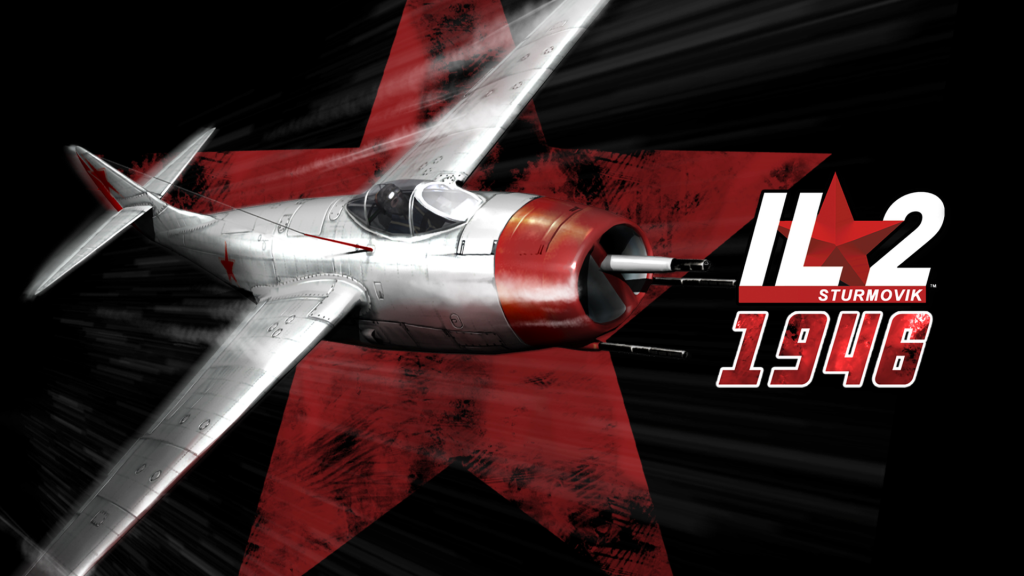
How to Install IL-2 Sturmovik 1946 (Version 4.13.4m) on Windows 10/11

How to Install IL-2 Sturmovik 1946 on Windows 11

IL-2 Sturmovik 1946. One of those legendary combat flight simulators that proves you don’t need a brand-new gaming PC to have an incredible time in the skies! Take control of famous WWII aircraft, jump into intense dogfights, attack ground targets, and experience the thrill of classic PC flight simulation.

With its huge selection of aircraft, missions, campaigns, and an amazing modding community, IL-2 Sturmovik 1946 remains a favorite among fans of retro PC games, WWII aviation, and realistic combat flight simulators. If you grew up enjoying classic flight sims, this is definitely one worth remembering, and playing again!

Installation files

You can get the original installation files of IL-2 Sturmovik 1946 (version 4.13.4m) by clicking here. The total “weight” of those files is about 6.5GB.

Installation process

Before installing the game you need to have tools like WinRAR or 7-ZIP if you’re running the process on Windows 10. On Window 11 the .ZIP files can be extracted without installing anything else.

  • Right click on the IL-2 1946 4.13.4m.zip file and the following option: Extract to “IL-2 1946 4.13.4m.zip/“. You’ll end up with a folder called IL-2 1946 4.13.4m.zip. Rename that folder taking out the .zip part of the name.
  • Move the folder to the root of the hard drive you want the game to be opened from. Let’s say you want the game on your drive C:, you would end with the game copied on C:\IL-2 1946 4.13.4m.
  • In the root folder where the game is installed in, look for a file called conf.ini and open it with a text editor program. By default, I use the Window’s notepad app.
  • In the conf.ini file, look for the following lines:
    • width=xxxx
    • height=xxxx
  • Replace xxxx with the actual width and height of your monitor screen’s resolution. Let’s say your monitor has a resolution of 1920 x 1080, those lines should look like this:
    • width=1920
    • height=1080
  • Save the changes and exit the conf.ini file.
  • Now in the same root folder where the game is installed, look for the following file: il2fb.exe.
  • Double click that file to open the game. You can later create a shortcut on your desktop to open the game more easily.
How to install DCS: A-10C Warthog v.1.1 on Windows 11

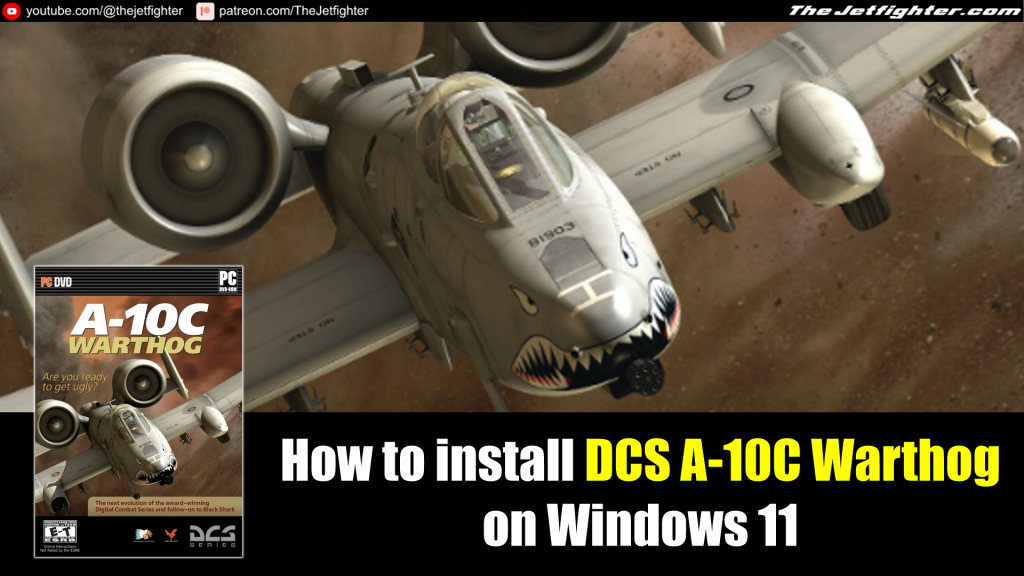
How to install DCS A-10C Warthog on Windows 11

DCS: A-10C Warthog is one of the most realistic military flight simulation games ever created, allowing players to experience the legendary Fairchild Republic A-10C Thunderbolt II in a highly detailed combat environment.

Developed by Eagle Dynamics, the simulator features an authentic clickable cockpit, advanced avionics, realistic flight physics, and challenging close air support missions based on real-world procedures.

Whether you are a newcomer looking to learn the aircraft or an experienced virtual pilot, DCS: A-10C Warthog delivers an immersive and rewarding simulation experience.

In this installation guide, you’ll learn how to install DCS: A-10C Warthog correctly and get ready to fly with the latest updates and optimal settings for the best performance.

What do you need to install

In order to install and make this game work on your Windows 10 and/or your Windows 11 PC you need to download the following software:

  1. DCS: A-10C Warthog installation files
  2. DCS: A-10C Warthog (English translation files)
  3. DCS: A-10C Warthog Keygen

Installation proccess

In the following video I will show step-by-step how to install DCS: A-10C Warthog on your PC.

How to install MIG Alley on Windows 10 or Windows 11

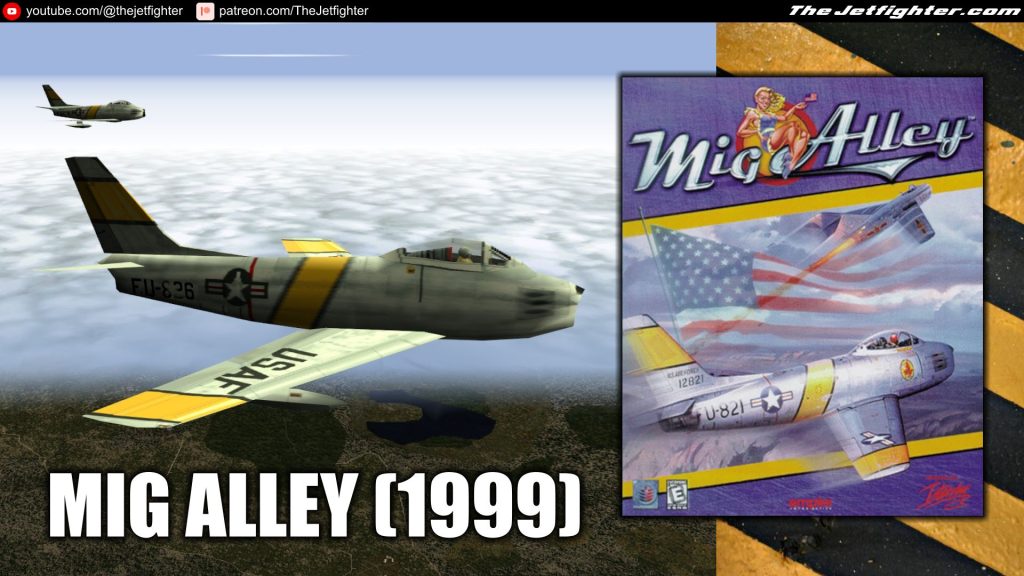
 How to install MIG Alley on Windows 10 or Windows 11
How to install MIG Alley on Windows 10 or Windows 11

Mig Alley is a combat flight simulation video game, developed by Rowan Software for PCs with Windows, and was published by Empire Interactive in 1999. In this post I will show you how to install Mig Alley on a Windows 10 or Windows 11 PC.

Note: This is an over simplified installation procedure from an original setup described here. Just a guide to get you up and running the game the fast and best as possible.

What do you need

The following files are needed in order to install and make the game work on your PC. Right click on the links and click on SAVE AS to save the files on your PC.

Mig Alley installation process

Open/mount the Mig Alley_v1_1.iso file previously downloaded.

Once the installation CD is mounted, look for the SETUP.EXE file and double click on it to begin the installation program and just click NEXT for the rest of the installation. By default, the game will be installed on C:\rowan\mig.

After the installation is finished, open the DLL libraries.rar files and extract all three files from it. Those file should be the following:

  • ddraw.dll
  • mss32.dll
  • smackw32.dll

Now copy (do not cut) those files and paste them in the root of C:\rowan\mig or whatever folder you installed the game into.

Open the game from its MIG Alley icon and enjoy. 

Page 1 of 13

Powered by WordPress & Theme by Anders Norén