Flight simulation old and new

Category: HOW TO INSTALL Page 10 of 13

How to install tutorials for video games, programs and tools

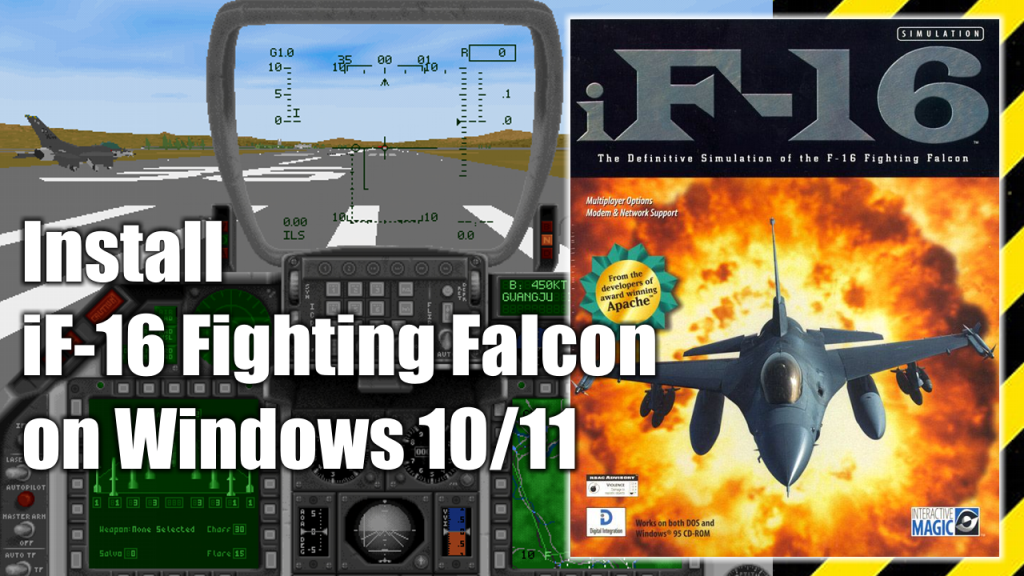
How to install iF-16 Fighting Falcon (Digital Integration, 1996) on Windows 10/11

How to install iF-16 Fighting Falcon (Digital Integration, 1996) on Windows 10/11

iF-16 Fighting Falcon is a combat flight simulator video game released in 1996 by Digital Integrations, the same people who brought Hind and Apache Longbow into the world. Originally intended to be played on the MSDOS/Windows 3.1 platforms. The graphics are really good for a 1996 game, and despite its age the game was fairly realistic in terms of simulation.

In this pot you’ll find a step-by-step guide to install and run iF-Fighting Falcon on a Windows 10 or Window 11 modern PC.

What do you need to install iF-16 Fighting Falcon

In order to install iF-16 Fighting Falcon your Windows 10 or Windows 11 PC you need to have the following programs at hand:

  1. Digital Integrations iF-16 Fighting Falcon installation CD or ISO image. (Download)
  2. WineVDM. Allows modern 64-bits PCs to run 16-bit Windows programs. (Download)
  3. DxWnd (Download)
  4. DxWnd Fix (Download)

iF-16 Fighting Falcon installation process

  1. Decompress OTVDM’s ZIP file. On the OTVDM folder, double click on install.exe and let the program be installed.
  2. Decompress the mydxwnd.7z file (you can do that with winrar) and copy its content on the root of your C: drive. The resulting directory path should be: C:\mydxwnd
  3. Insert the CD or mount the .ISO image of iF-16 Fighting Falcon and make a full installation of the game on C:\mydxwnd\f16.
  4. Install DxWnd Fix files. Decompress the mydxwnd.fix.7z file (you can do that with winrar) and copy its content on the root of the C:\mydxwnd folder. Overwrite if necessary.

How to run iF-16 Fighting Falcon

  1. Insert the CD or mount the .ISO image of iF-16 Fighting Falcon. The game only works if the CD or ISO image is mounted.
  2. Open the folder C:\mydxwnd\ and double click on dxwnd.cmd.
  3. Finally, double click on the F16 icon and enjoy the game 

The following is a video of the installation process, and then running the game once the game is installed on your PC.

The original idea for this post and video was inspired by this post at Vogons.org.
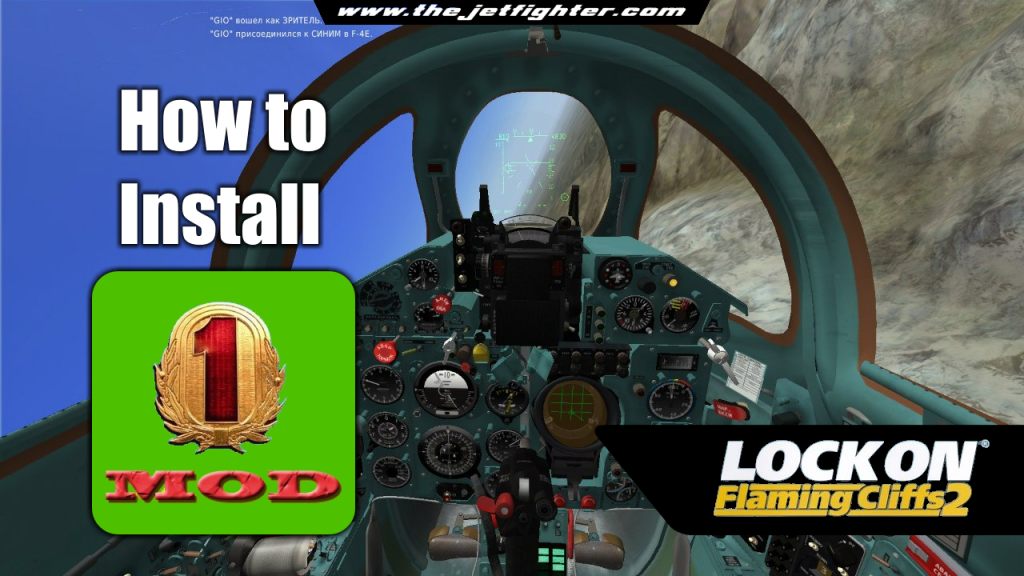
How to install the MOD-1 of Flaming Cliffs 2

How to install the MOD-1 of Flaming Cliffs 2

MOD-1 is a modified and improved upgrade for the combat flight simulation video game Lock-On Flaming Cliffs 2. Developed by the same people behind the Server BVB, the last online Flaming Cliffs 2 server in service nowadays.

The MOD allows us to control all the planes in the game with detailed 3D models and HD textures of all aircraft and cockpits. New cabins for transport aircraft and old aircraft, adds new countries to the list and realistic reload time for all aircraft among many, many other improvements.

Where to download the Flaming Cliffs 2’s MOD-1

The game is Russian made, so does the Server BVB’s group behind the MOD-1. As far as I know, the only social network profile this group has, can be visited in the “Russian Facebook” platform called VKontakte.

As of the making of this post, the latest version of MOD-1 is v.4.1. You can download the MOD from either Google Drive or Yandex Disk and has a “weight” of 2.51GB.

How to install MOD-1

In the following video I show a step-by-step guide to install the MOD-1. Off course, you need to have Lock-On Modern Air Combat and Lock-On Flaming Cliffs 2 previously installed on your PC in order to install and make this MOD works.

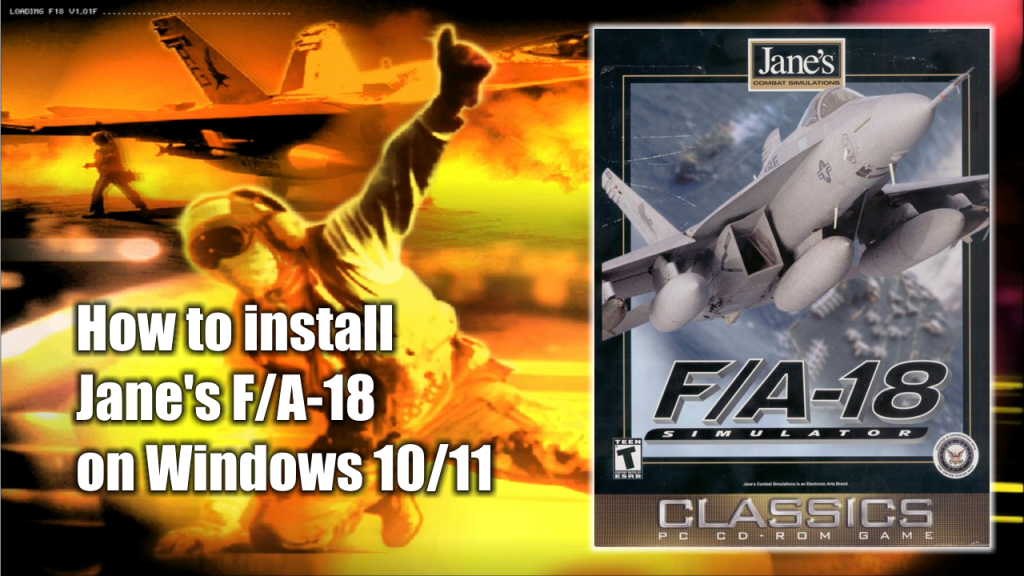
How to install Jane’s Combat Simulations F/A-18 on Windows 10 / Windows 11

How to install Jane's Combat Simulations F/A-18 on Windows 10 / Windows 11
How to install Jane’s Combat Simulations F/A-18 on Windows 10 / Windows 11

Jane’s Combat Simulations F/A-18 is one of the best flight simulators of the Jane’s flight simulation saga. Unfortunately, is one of the trickiest to install and trickiest to make work on modern computers since the game was published in 2000.

There are quite a few ways out there to install Jane’s F/A-18 on modern computers. Here I’m going to describe the way I have personally used and I’m using right now to make this game works on either Windows 10 or Windows 11.

But before we begin, I want to let you know that this installation process isn’t mine. I took it from this website where it describes the process to install this and other simulation games but here, I’m going to focus only on the installation process for Jane’s Combat Simulations F/A-18.

What do you need to install Jane’s F/A-18

  1. The Jane’s Combat Simulations F/A-18 installation CDs or .ISO image. (Download / Mirror)
  2. The Jane’s Combat Simulations F/A-18 1.01 patch (Download)
  3. DxWnd (Download)
  4. DxWnd Fix (Download)

Jane’s F/A-18 installation process

  1. Decompress the mydxwnd.7z file (you can do that with winrar) and copy its content on the root of your C: drive. The resulting directory path should be: C:\mydxwnd
  2. Insert the CD or mount the .ISO image of Jane’s Combat Simulations F/A-18 and make a full installation of the game on C:\mydxwnd\f18.
  3. Install DxWnd Fix files. Decompress the mydxwnd.fix.7z file (you can do that with winrar) and copy its content on the root of the C:\mydxwnd folder. Overwrite if necessary.
  4. Install the Jane’s F/A-18 v1.01F Patch first. Then overwrite the original F18.EXE at C:\mydxwnd\f18 with the one that came in the patch installation file.
  5. Run the configuration scripts in C:\mydxwnd:
  6. Run genini.cmd. It will generate config ini file for DxWnd with correct paths to the game.
  7. Run verify.cmd. This script will check files and hashes to ensure everything installed correctly in previous steps.
  8. Run nglide_setup.exe and setup glide wrapper. Enable Vertical Synchronization and Aspect correction.

How to run Jane’s Combat Simulations F/A18

In order to run the actual game, open the main game’s directory C:\mydxwnd, and then double click the dxwnd.cmd file. This will open the DXWnd window program.

In the DXWnd window look for the F18 icon. Double click on it and enjoy the game.

Page 10 of 13

Powered by WordPress & Theme by Anders Norén